3DG EPISODE 45: HINDSIGHT

1503201_3839478841284_2087638237_o

They say it’s better late then never.  Well folks, we have a super late Christmas Special! In this tardy episode of 3DG, James, Neil and Grover are joined by the always lovely Jen and Matt Hinds for a rather festive “Getting Crafty with Jen”!

Despite having literally no voice and Matt having to do all the talking, Jen brought us a fantastic take on the old fashioned Christmas Stocking. Why not check out the episode for some inspiration, and view her step by step instructions below!

If you like iTunes, download from this link: HERE

If you like your geekery mobile, download Stitcher!: HERE (Promocode: DRUNKGEEKS)

Or listen to us directly from the online Stitcher Radio App: HERE

Cheers and Enjoy!

Be sure and check us out on the interbutts!

Episode Art Credit: Jeff Jones:
https://www.facebook.com/pages/Driven-Design/166324230036 / http://drivendesign-phx.com


3DG, arts and crafts, christmas, comedy, diy, do it yourself, fun, getting crafty with jen, holidays, podcast, the 3 drunk geeks
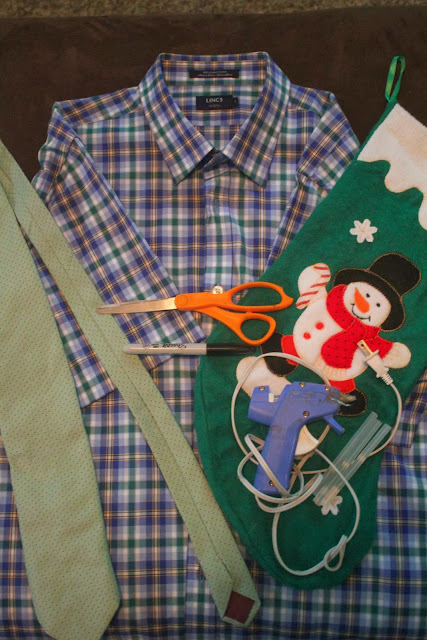
Materials needed:
Old Shirt
Pattern of stocking (I used an old stocking we got at the dollar store)
Scissors
A marking pen
Hot glue/Fabric glue or you can even sew it.
An old tie or bow tie (optional)


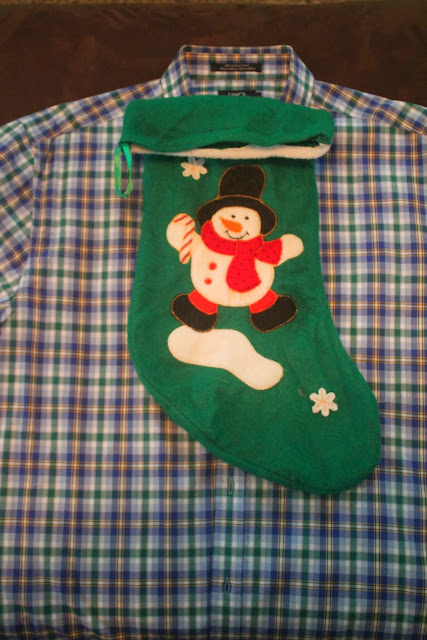
Lay your stocking pattern over the center of your shirt. The top should be the very top of the shirt collar.
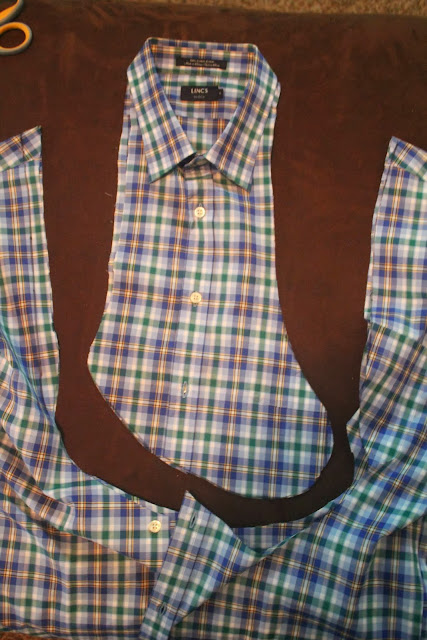
Trace around the pattern with a marking pen
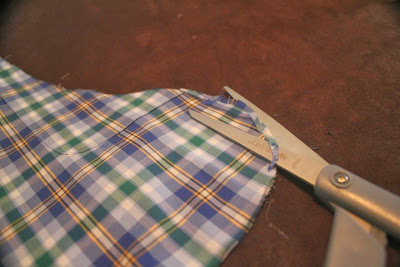
Cut out your stocking making sure not to cut the collar (that is the opening to your stocking!)
Don’t worry about being too neat with your cutting or leaving any marks on the shirt – you can always go back and trim.
3DG, arts and crafts, christmas, comedy, diy, do it yourself, fun, getting crafty with jen, holidays, podcast, the 3 drunk geeks
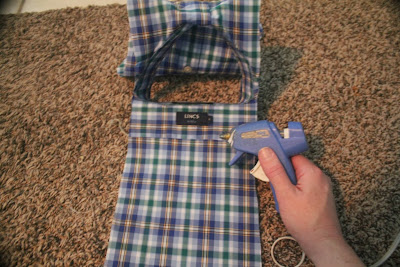
 Separate the top from the bottom and start (about 1/2 an inch from the outside edge) beading glue onto one side. Press down as you go, doing a little at a time to make sure two sides fit properly.
3DG, arts and crafts, christmas, comedy, diy, do it yourself, fun, getting crafty with jen, holidays, podcast, the 3 drunk geeks
Trim the outside edges of any marks or overlapping pieces
3DG, arts and crafts, christmas, comedy, diy, do it yourself, fun, getting crafty with jen, holidays, podcast, the 3 drunk geeks
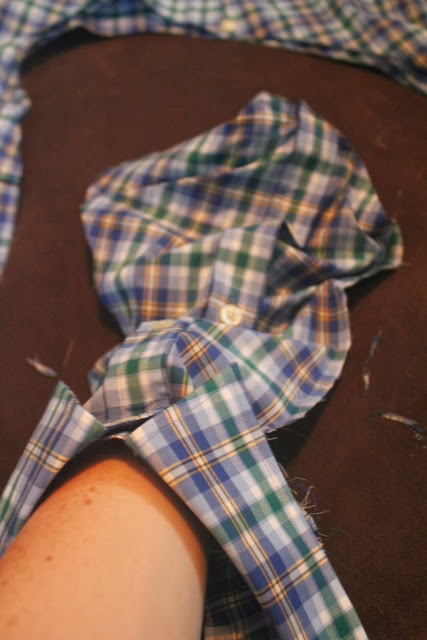
After I was done, I stuck my hand inside to make sure there were no holes or weak spots. I also glued down the pockets, shoulder flap and in between each button hole
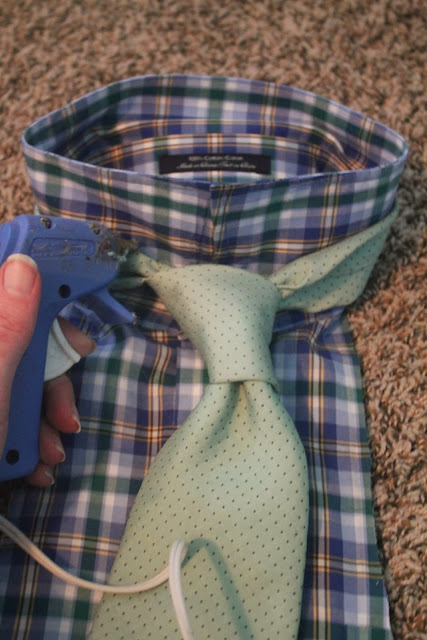
Take your tie and lay it inside the collar. Hot glue the inside so it cannot slide off or move – if you would like to also hot glue the long part down about 3 or 4 inches to the center of the stocking so it hangs straight when you display it.
3DG, arts and crafts, christmas, comedy, diy, do it yourself, fun, getting crafty with jen, holidays, podcast, the 3 drunk geeks
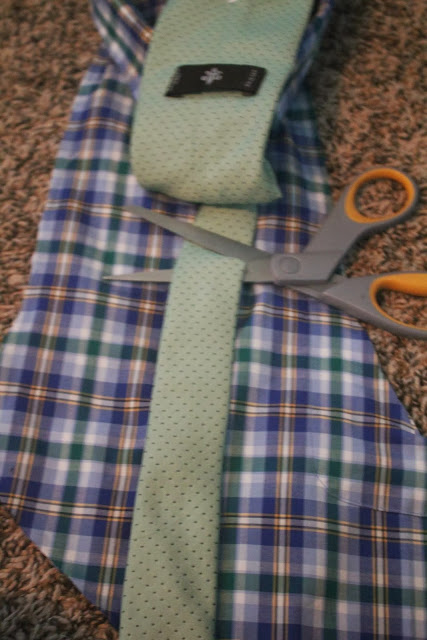
Clip off about 8 or 9 inches from the smaller end of the tie to use for hanging
Hot glue the ends together
3DG, arts and crafts, christmas, comedy, diy, do it yourself, fun, getting crafty with jen, holidays, podcast, the 3 drunk geeks
Attach to the right hand side of the collar on the outside
3DG, arts and crafts, christmas, comedy, diy, do it yourself, fun, getting crafty with jen, holidays, podcast, the 3 drunk geeks

[SlideDeck2 id=10315]

Subscribe
Notify of
guest
0 Comments
Most Voted
Newest Oldest
Inline Feedbacks
View all comments