The Monthly Maise Tutorial: The Arkham Knight Harley Quinn Skirt
Like a petulant cat coming out from their beloved hiding spot, I’ve finally decided to start making these tutorials to share with all of you. I know I’ve been promising them for a good while, but thanks to my new outlet of GNN, I have a viable place to share them! So here’s the first of what will become a monthly tutorial, I hope you enjoy!
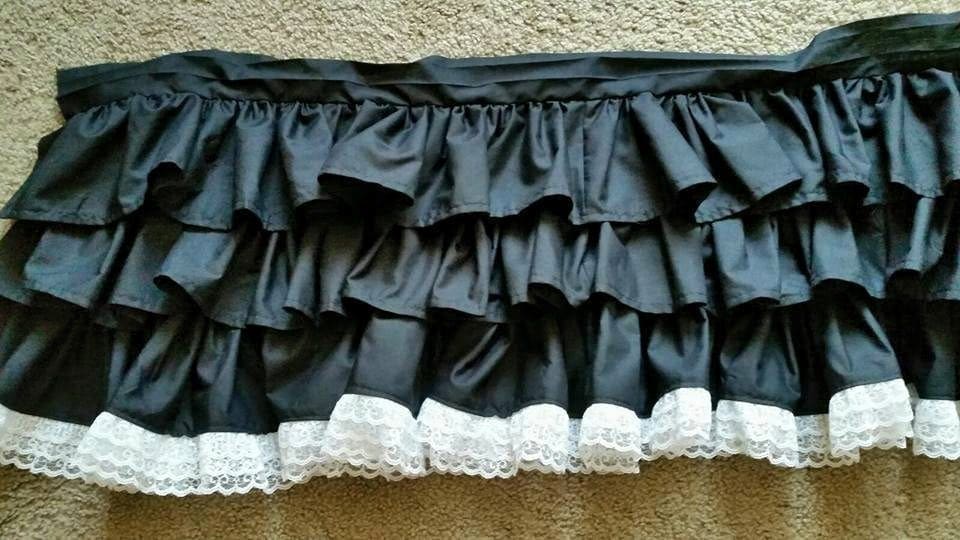
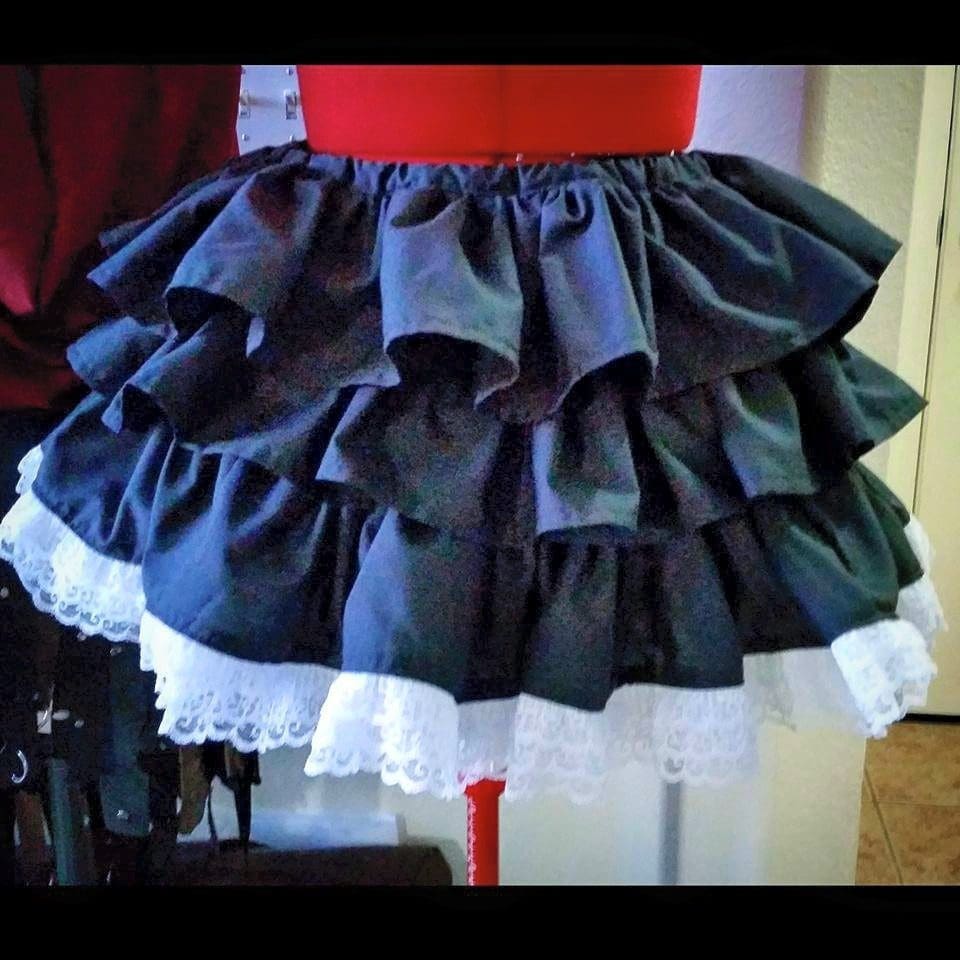
The Arkham Knight Harley Quinn skirt!
You’ll need the following:
- 5yds black cotton
- 5yds white lace trim
- Black thread
- 80/12 machine needles
- Elastic of your choice – I usually go with 3/8″
- Tape measure
- Fabric scissors
- Pins
- Iron and ironing board
This skirt seems like it would be super complicated, but really the toughest part is having the patience to make the long pieces into ruffles. So let’s begin.
- Start off by doing the math! Find out how long to make each tier PRE ruffling. For a waist measurement in the mid/upper 20s and hips in the mid/upper 30s, I tend to go with the following length measurements for each of the tiers: first-110″, second-140″, and third-170″. All three of those strips will be 6″ wide. You also want to cut the two connector pieces and a waistband. The connectors hold the tiers together and the waistband is what encases the elastic. General way to go about these pieces is to cut following theses formulas:
–Connectors: (hip measurement inches) by 4″ for the first connector and (hip measurement inches + 10″) by 4″ for the second.
–Waistband: (waist measurement inches + 15″) by 3″ - Purchase everything you’ll need. That will generally be what I listed unless you’re making a larger/smaller size than what I am explaining here.
- Get home and wash the cotton!!! This is an imperative stage that simply must happen for a few reasons. One, it softens the cotton a bit and makes the rest of this easier, two, it reduces the risk for shrinking of the material AFTER the garment had been made!! Once it’s clean, iron it out and get to cutting! After cutting out the connectors and waistband pieces, I usually fold the fabric in half, then half again, measure out 27.5″, 35″, and 42.5″ then cut out the 6″ ruffle strips. Then I cut the two smaller ruffle pieces in half, the biggest into three pieces, and then sew each strip back together. I know this seems like an extraneous move, but it will make sense in a bit.
- Sew a line 1/4″ from the edge of each ruffle and use that as a guide to fold over the hem edge and iron it down like so:

First fold, you can see the guiding sew line along the edge where I ironed. Then fold over and iron again so you get a nice clean edge that won’t fray.
- Thanks to ironing them down like that, you won’t need to pin! Sew down each hem edge, making sure to add the lace trim to the bottom ruffle.
- Now here’s where that sewing the pieces together comes in everyone!! Sew long stitches along the whole top (unhemed edge) of each ruffle STOPPING AT THE SEAMS to have a break in the stitching. Do this line only a 1/4″ from the edge so these stitches get hidden when you sew things together. To get the stitches I’m talking about, set your machine to make the longest stitches it can. Now why break it up? Because it will make it easier when you go to ruffle it up to not have a 170″ space to pull into ruffles. Granted, if you have a ruffle foot, you could use that, but I prefer the control I have over how tight the ruffles are when I do it myself.
- Now it’s time to pull the fabric in from the ends of the stitches to create the ruffles. Ruffle the first one to the length of the waistband, the second to the length of the first connector, and the third to the length of the second connector. They’ll look like this:
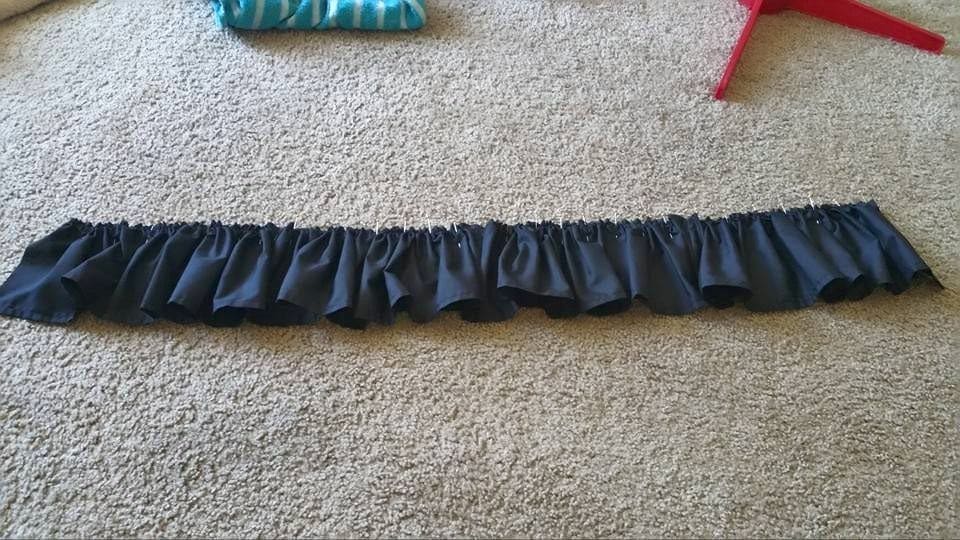
This is the first ruffle pinned to the waistband. You also want to do the long stitching over the top of the connectors as well.
- All sewing from this point onwill be done at 1/2″ from the edge unless otherwise stated. Pin the first tier to the waistband piece. You want the first connector attached here as well so it is hidden behind the ruffle. Moving the first tier andwaist bandout of the way, pin the second tier to the first connector.
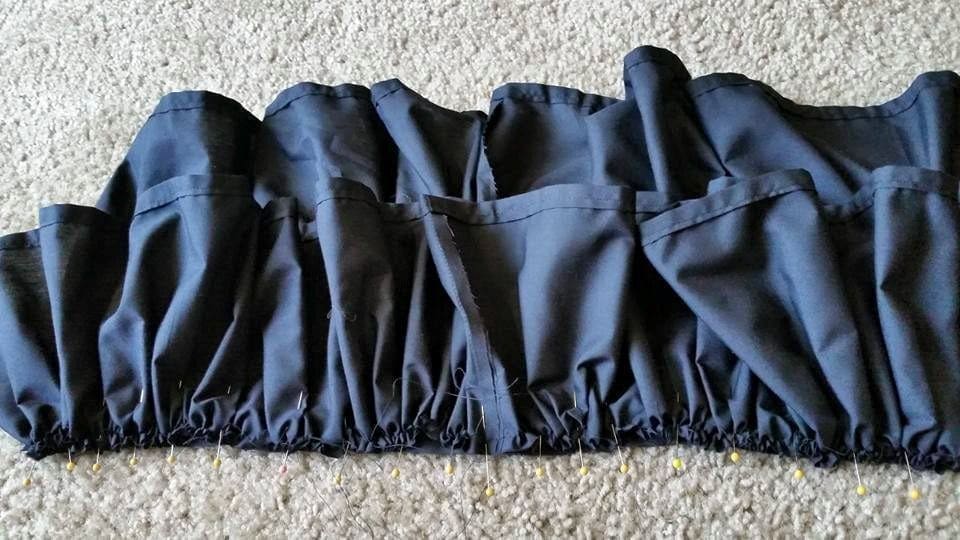
View of the underside of this step. Make sure to pin the face of the ruffles to connectors so when the skirt turns over, you have the nice side and not the icky seams. 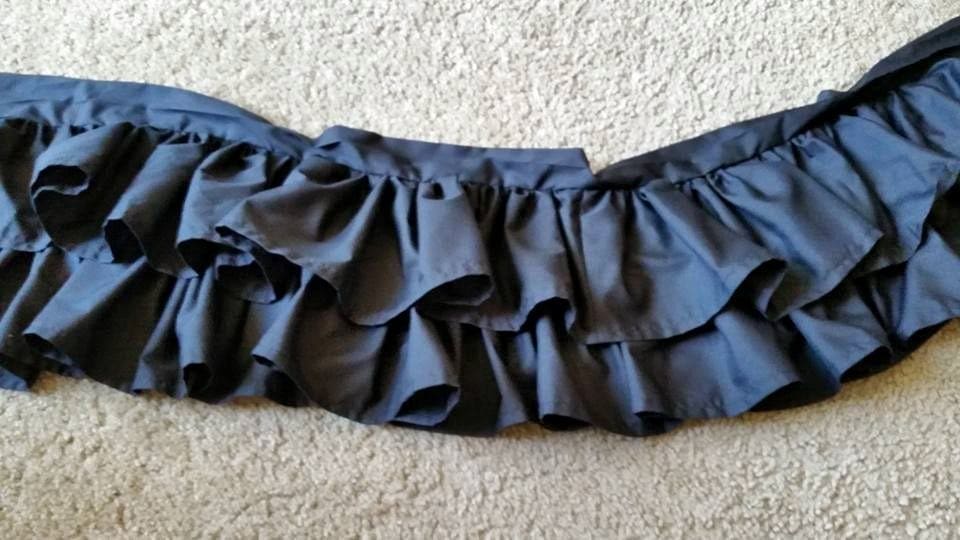
What it looks like after you attach the second ruffle and flip forward. After that, ruffle up the second connector and pin to where the first connector and the second ruffle are sewed. Sew it down and pin the last ruffle to the bottom of the second connector. You’re almost done.
- It’s time to pin the skirt edges together (being careful to line up the tiers properly, and sew up the back. You’re going to sew all the way up the waistband.
- At this point, press the open edge of the waistband over 1/2″. Turn it over, encasing the rough edges inside of it. Pin it and sew it down (1/4″ up from the seam) on the front so you get a clean line where it will actually be seen. IMPORTANT: Leave an opening a few inches wide in the back and here’s why! Elastic. Cut a piece of elastic to your waist measurement and either put a pin or tie a pencil or something to one end so it doesn’t pull all the way through. Personally, I use a large hand sewing needle. On the other end, hook asafety pin on and use that to guide the elastic through the waistband casing.
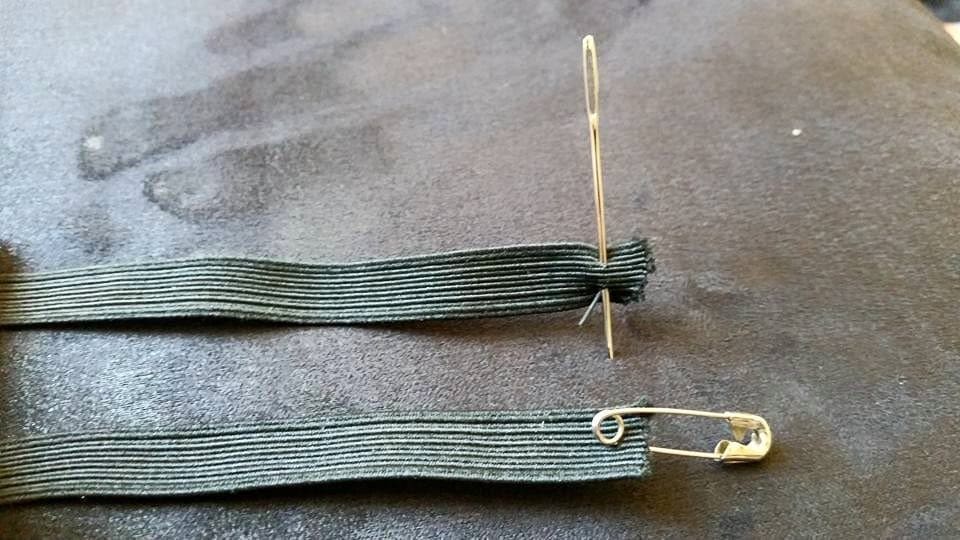
Showing what I put on each end of the elastic. When the elastic is threaded through the casing of the waistband, overlap the ends and sew back and forth several times to get them stuck together. When that is finished, sew down the open spot on the waistband and, guess what?!
YOU’RE DONE! Throw a petticoat on beneath it and rock your new skirt!
Gabby is a seamstress, leather worker, & jewelry artist. She established Maise Designs in 2004, but four years later focused her efforts on compelling opportunities in the niche world of costume craft and design. After completing her first Cosplay commission, DC's Huntress, her reputation quickly grew in the AZ Cosplay community and has smoldered ever further outward with greater opportunities to collaborate with high profile personalities within the industry. Her repertoire includes pieces ranging from Renaissance fantasy to Disney princesses, masquerade leather-work and more, but her specialties are Comic Book and Video Game based Cosplay.
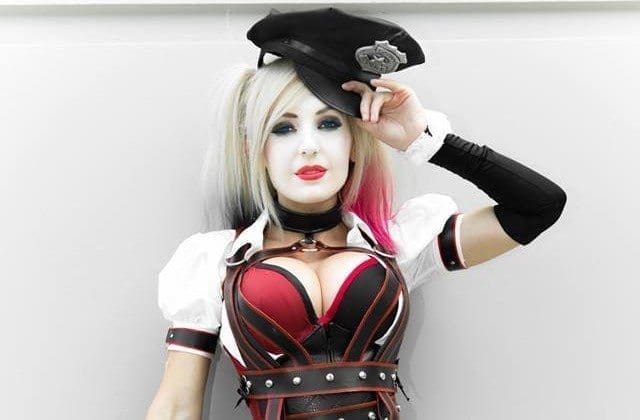
She's been blessed to work with such prominent local talent as Itty Bitty Geek, Aaron Forrester, Katy Mor, and Amie Lynn--for whom she constructed Vivienne for the Dragon Age: Inquisition promotional marketing. She's worked on several costumes with world renowned Cosplayer Jessica Nigri, most notably her Arkham Knight Harley Quinn which was worn for Warner Bros at San Diego Comic Con 2014.
Most recently she was the seamstress for the Steampunk X-Men Girls cosplay group at Phoenix Comic Con and is looking forward to next year's project!


