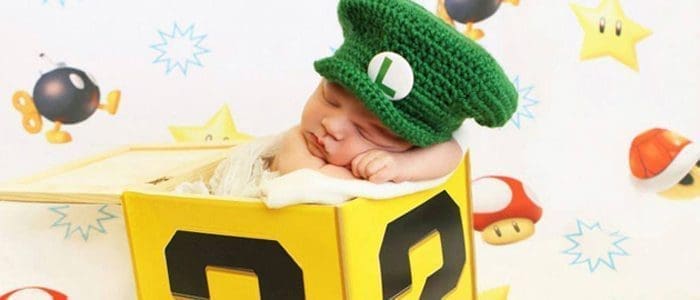
I am the only one of my close friends that had a baby boy and I really wanted to make him some geek approved onesies since there weren’t a lot of pop-culture baby items out there. So when I turned to the internet to look for DIY projects to make him cute things all I could find was a lot of pink and tulle and hair accessories. I was so disappointed by the lack of baby boy projects, so I took matters into my own hands.
Here is how to make a No-Sew Baby Vest Onesie.
Materials needed:
- Onesie in desired size. Suggested that you pre-wash first
- Cardboard two inches wider than your onesie
- 1 ft of desired fabric (I used retro Star Trek fabric from Joann Fabrics)
- Two Buttons at least .5 inches in diameter
- Fabric glue that dries clear
- Scissors
- Q-Tip
- Marker
- Optional: extra fabric to make a bow tie
To get started, open the bottom buttons of your onesie and slide over the cardboard. This will make your onesie a little taught and easier to work with.
Cut your vest fabric in half giving yourself to long pieces. Place them on top of each other with the fronts of both pieces facing each other.
Place the stacked fabric on the left side of the onesie, lining the side of the onesie with the side of the fabric. Fold the upper right corner from the upper left neckline down to where you want the vest neck to be. Press your fingers along the seam to make a fold. Using your marker, draw along the folded line. Trace out the rest of the vest shape on the fabric.
Cut along your traced lines and then separate the pieces. Place the right vest piece to the side. Using your fabric glue, trace around the edges of the back of the vest piece and do a swirl of glue in the middle.
Flip the vest piece over and place is where it belongs on the onesie. Press down so the glue can stick all over the onesie. Repeat gluing on the other vest piece, placing it over the first vest piece. To prevent fabric fraying, use your q-tip and fabric glue and glue along the edges of the vest.
Take your buttons, put glue on the back and place it in the overlapping part of the vest, roughly in the center of the onesie. The two buttons should be stacked on top of each other about an inch apart.
Optional: add a small bow tie to an extra dapper look. You can glue it on at the middle.
Let dry overnight and you have one dapper looking baby!


